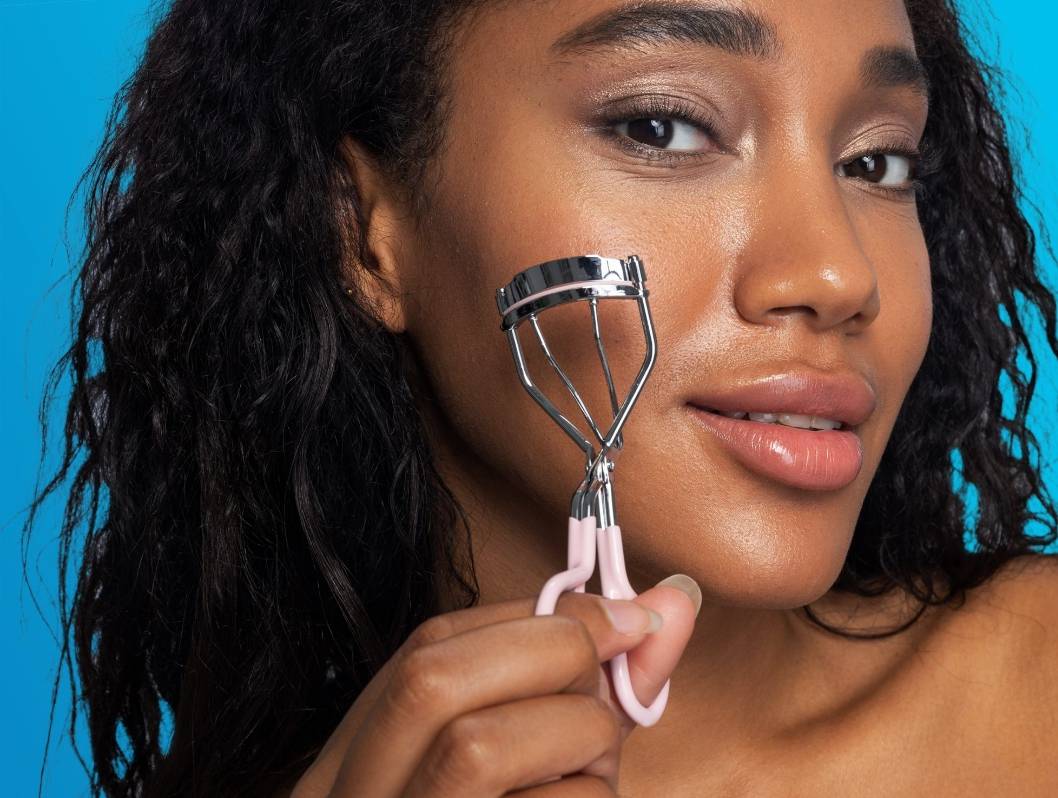
An eyelash curler takes your makeup look to the next level," says Dema Jaber, makeup artist and founder of Lash Star Beauty. "Using an eyelash curler helps elongate the lashes and points them up rather than straight out, making them appear much longer giving you a more open eye look and long full lashes."
Ready to add this little handy gadget to your regimen? Since using one for the first time can feel...intimidating, we're offering a step-by-step makeup tutorial to using an eyelash curler. But first, let's talk about what makes a good eyelash curlerHow to Choose the Best Eyelash Curler
As with any product, some eyelash curlers are better than others. "Make sure that the curler you use has a rounded rubber pad in the base of the curler," says celebrity makeup artist AJ Crimson. The larger and softer the cushion, the better. This makes for a more comfortable usage experience, and it also helps protect your lashes from breaking under pressure. You'll also want to make sure that the curler opens and shuts easily and that it's comfortable to handle. Finally, the curvature should line up with your eye shape. The latter two qualities to look for in an eyelash curler will vary from person to person, so don't be afraid to shop around until you find the best option for your lashes.
Crimson recommends Shu Uemera's Iconic Eyelash Curler ($23; shuuemera.com) and Tweezerman's ProMaster Eyelash Curler ($23; sephora.com). Shiseido's Eyelash Curler ($23; ulta.com) is another well-reviewed option with a cult following.
How to Use an Eyelash Curler
Knowing how to use an eyelash curler is pretty simple, but there's definitely an art to the process. Follow this step-by-step eyelash tutorial and you'll nail those fluttering, Bambi-like lashes every single time.
Step One: Start With Bare Lashes
A common mistake people make when using a traditional eyelash curler is that they apply mascara first. Jaber says you should always start with naked lashes for several reasons. First, it prevents your eyelashes from sticking to the curler, which is likely to happen if you're already wearing mascara. Second, it prevents your lashes from clumping together or looking spidery. Finally, it keeps your curler much cleaner in the long run. (If you're wearing adhesive falsies, apply them first and then curl.)
Step Two: Look Down
"My trick to ensure you don't nip your eyelid when curling your lashes is to look down," says Jaber. She says that by looking down, you'll have easier access to your lash line and are less likely to nip your delicate eyelid skin.
Step Three: Gently Clamp Down
Bring the opened curler up to your lashes. The lashes should fall between the two clamps. Gently clamp down while making sure you don't have any skin between the clamps.
"If you feel a pinch, move the curler outward away from you," says Crimson. If all's clear, you can press more firmly. The goal is to get as close to your lash line as possible without accidentally nipping your skin.
Step Four: Hold and Pulse for Five Seconds
Once comfortable, press down firmly (but not too hard) for about five seconds. Jaber recommends a gentle pulsing rhythm. Repeat all the above steps on your other eye.
Step Five: Apply Mascara
After both lashes are curled, it's time to go in with your favorite mascara. Apply as usual, making sure to get into the root of your lash all the way to the tip. If you want, you can use an eyelash comb afterward to further separate your lashes.


